Introducing the Tim Aidley PicoMachine
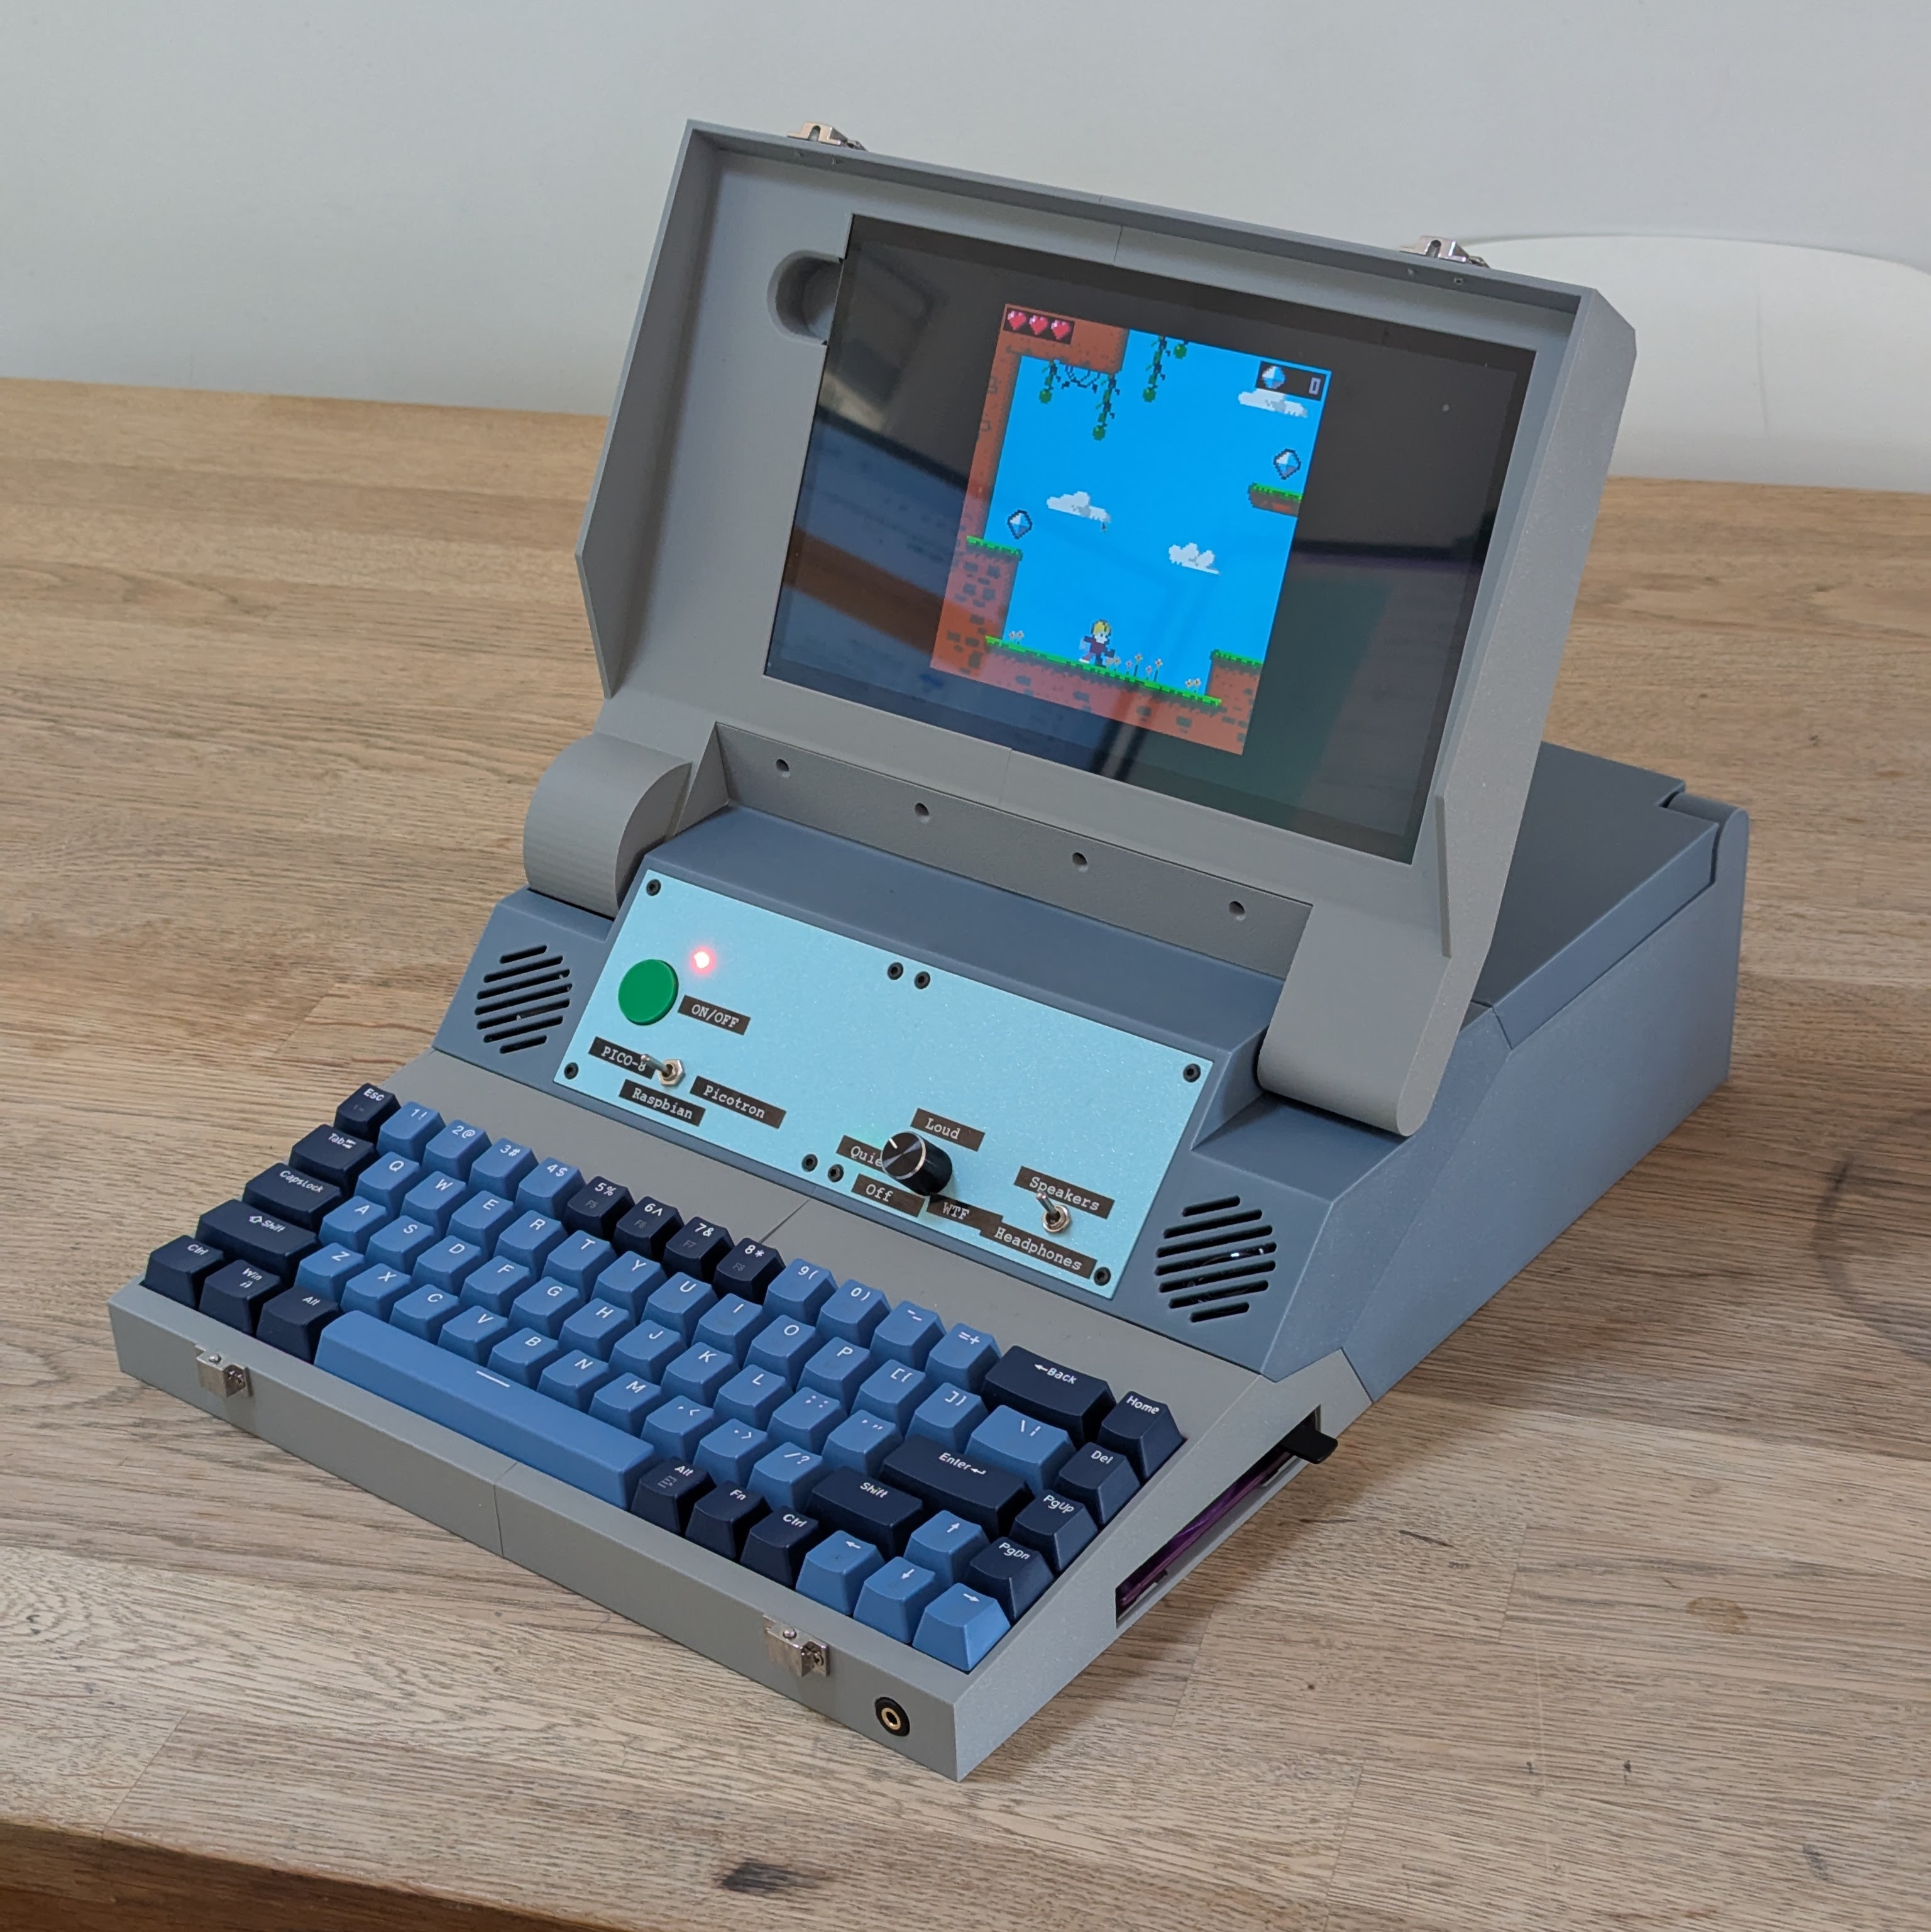
I’d like to introduce a little project I started at the end of November, 2024. It is a portable computer specifically designed for developing Pico-8 and Picotron games on.
A Video of the PicoMachine being set up
This post will be the first in a series about the device.
Conception
Ever since I started playing with Pico-8, I’ve had an idea that I might like to build a piece of hardware especially designed for using it. It was always something I never quite got around to. Anyway, I was playing around with Picotron, and I started thinking about it again. I realized I had several of the prerequisites already:
- A decent 3D printer
- Sufficient skill with the OnShape CAD program to be able to realize my designs
- A Raspberry Pi4 currently doing nothing
- A couple of weeks off over the Christmas/New Years period without anything in particular planned.
I decided to give it a try.
Design Considerations
My first experience of computing was in the early 80s, on 8-bit home computers that ran BASIC. One of the things I like about Pico-8 in particular is how close it is to the experience of programming on one of those computers. Similarly Picotron reminds me of the 16-bit era of home computing, so I wanted to make whatever I created hark back to those old systems.
Inspiration
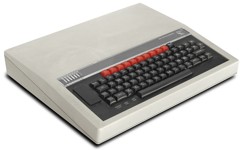
After the Sinclair ZX81, the second computer my family had was the Acorn BBC Micro. The ‘Beeb’ had a very nice keyboard, and I always liked its wedge-like shape, so I thought it would be a good starting shape to base my computer on.
Keyboard
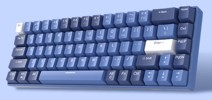
Apart from the BBC Micro inspiration, I wanted was a reasonably good keyboard because I wanted to be able to use it to write games. I looked at a lot of small form factor keyboard, but in the end decided to get a 68-key mechanical keyboard with the intention of removing the case. The width of the Keyboard (308mm) was one of the things that helped define the overall size of the project, as it was the only thing that I couldn’t easily scale down.
Screen
The keyboard width gave me enough space to fit in a 10.1" screen, so I looked for one that would fit the Pico(8/tron) resolutions well. I found one with a 1024x600 resolution, as this fits both Pico-8 and Picotron without too big borders on the top and bottom.
| App | Native Res | Scale | Scaled Res | Borders | Vertical % used |
|---|---|---|---|---|---|
| Pico-8 | 128 x 128 | 4 | 512 x 512 | 128 x 40 | 85% |
| Picotron | 480 x 270 | 2 | 960 x 540 | 20 x 30 | 90% |
Looking back on it, I’d have been better getting a 1920x1080 screen, which would have fit Picotron perfectly and fit Pico-8 95%.
The screen also has a built-in touchscreen, which is nice, but it also means the screen has a glass front, which adds a lot of weight.
Power
I knew I wanted the machine to be portable, which would require some form of battery power. Initially I was looking at various lithium polymer batteries and charging circuits. I’d probably have two LiPo cells and a buck converter to take the 7.2V down to 5V, but I was having trouble finding something suitable that could provide enough current, as I knew I’d probably need at least 3A.
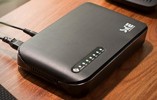
It was then that I found out about DC UPS units - they have all the charging and voltage conversion built in. I found a 74W unit that had USB, USB-C, and barrel plug outlets at 5V that could provide 3A each, as well as 9V and 12V that I didn’t need.
Storage
One of the cute things about Pico-8 is that it organizes its games in to ‘carts’ - digitally emulating the game cartridges of 8 and 16 bit game consoles. Initially I thought quite a bit about how to implement cartridges - perhaps I would just make them glorified USB drives, or maybe disguised SD cards, but given that I was going for a more 80s home computer vibe, I decided to go with 3.5" floppy disks instead. If I’d been going for that full authentic 80s 8bit experience, I would have used cassette tapes instead, but I decided that was going a bit far. Likewise, in the 8-bit era disks were normally 5.25" floppy disks, but by the 16bit era they had settled on the 3.5" size, and they’re a lot more convenient, and also remind me of my early PC days.
Luckily 3.5" floppy drives with USB interfaces are readily available, although the disks themselves were harder to get, and I had to find some on eBay.
Audio
I wanted the unit to have built-in speakers. The screen has some little speakers built in to the back, but they were rather quiet, and the quality of the sound from the headphone jack was very noisy, so I decided to add in a small amp and a switch so that I could switch between them and a headphone jack.
Peripherals and Storage
Quite early on I decided I wanted to be able to store the mouse inside the computer itself, and I figured I would have enough room to put a little storage compartment in somewhere. Initially I was going to use a wired mouse, and spent some time thinking about how I would route the wire from inside the computer. However, I decided that much like Pico-8 provides a more polished experience than the consoles and computers of the era it imitates, I to would succumb to convenience and use wireless peripherals.
I also decided I wanted to be able to store a couple of gamepads in there as well as the mouse, and I think I actually ended up with enough storage for:
- Two wireless gamepads
- A wireless mouse
- A power cable
- Several 3.5" floppies.
Aesthetics
I knew I wanted to make it look like something from the 80s. I expected it to be fairly bulky, and I wanted some cool-looking grilles on it for the speakers. I knew I wanted some switches on the front, and I loved the idea of them being toggle switches. Less 80s home computing and more 80s general aviation, but it looks cool nonetheless.